All Projects

Snap Inc.
Snap Material Design (Motion)
When I was first hired on the design team, my goal was to empower the Product Design team at Snapchat to build beautiful, seamless interactions that allow them to be more creative and efficient. During my time as a product interaction designer, I equipped the Design team with straightforward rules and principles. These allow both Designers and Engineers at Snapchat to break limits and push innovation to create the most delightful experiences for Snapchatters. In particular, I believe this framework will allow Product Designers to focus on their specialties while still taking advantage of a system approach to interaction design.
Creative Direction - Daniel Szeto
Product Design - Snapchat Design Team
Interaction Design - JOE 4TA
Snapchat's Core Motion Principles
Efficient
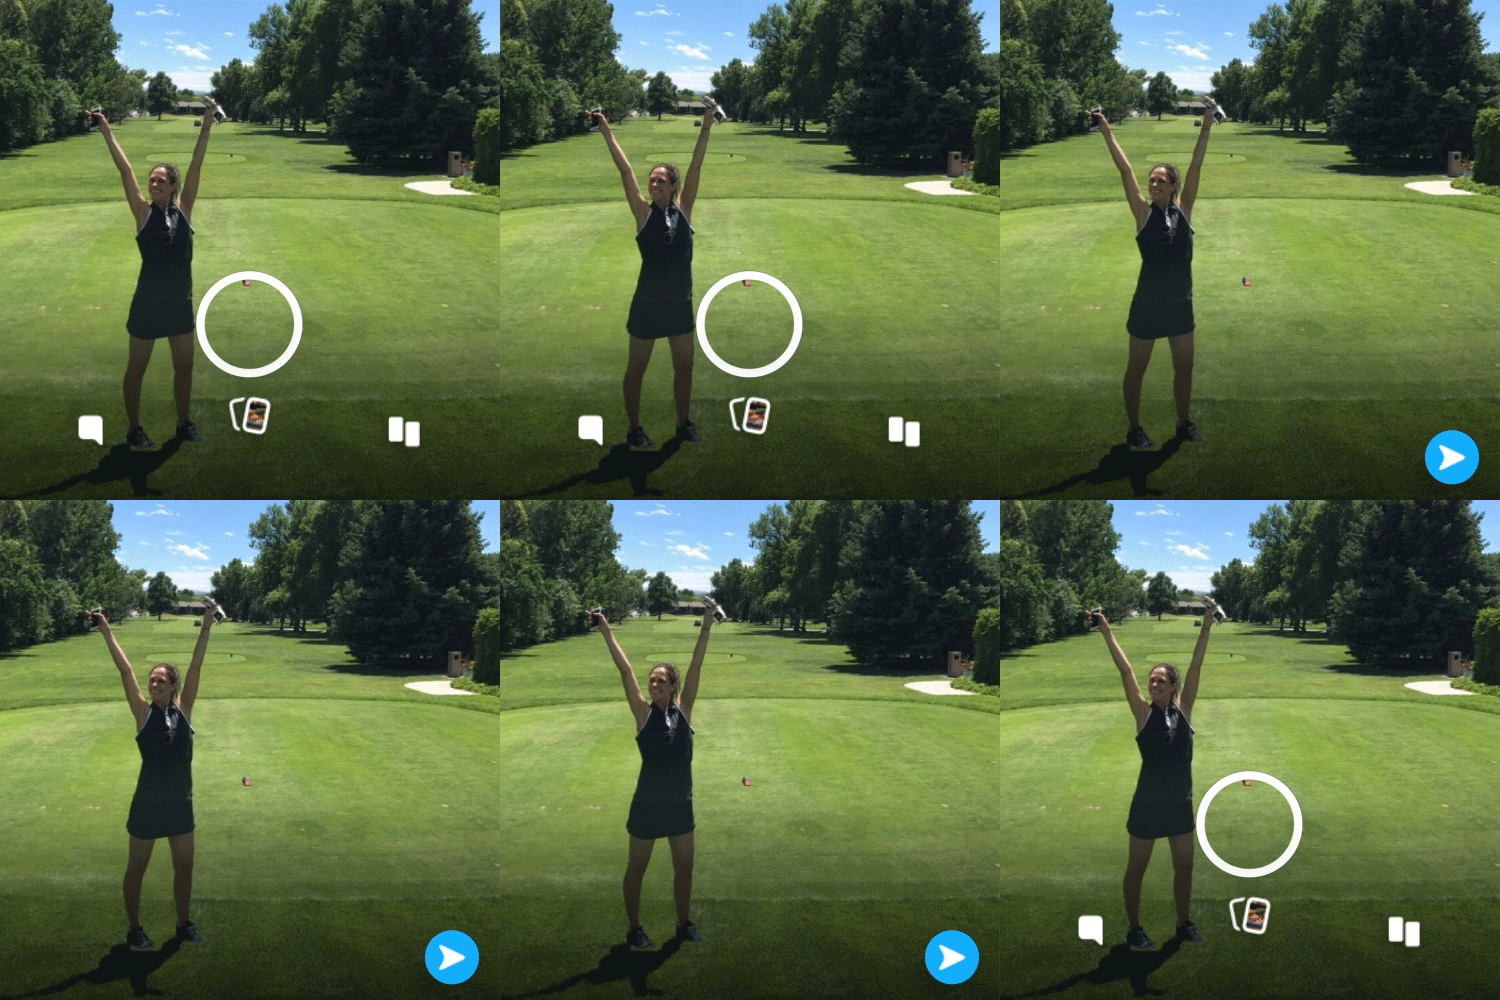
Snapchat is the fastest way to share a moment and our UI should support that by being as swift as possible at all times.
Responsive
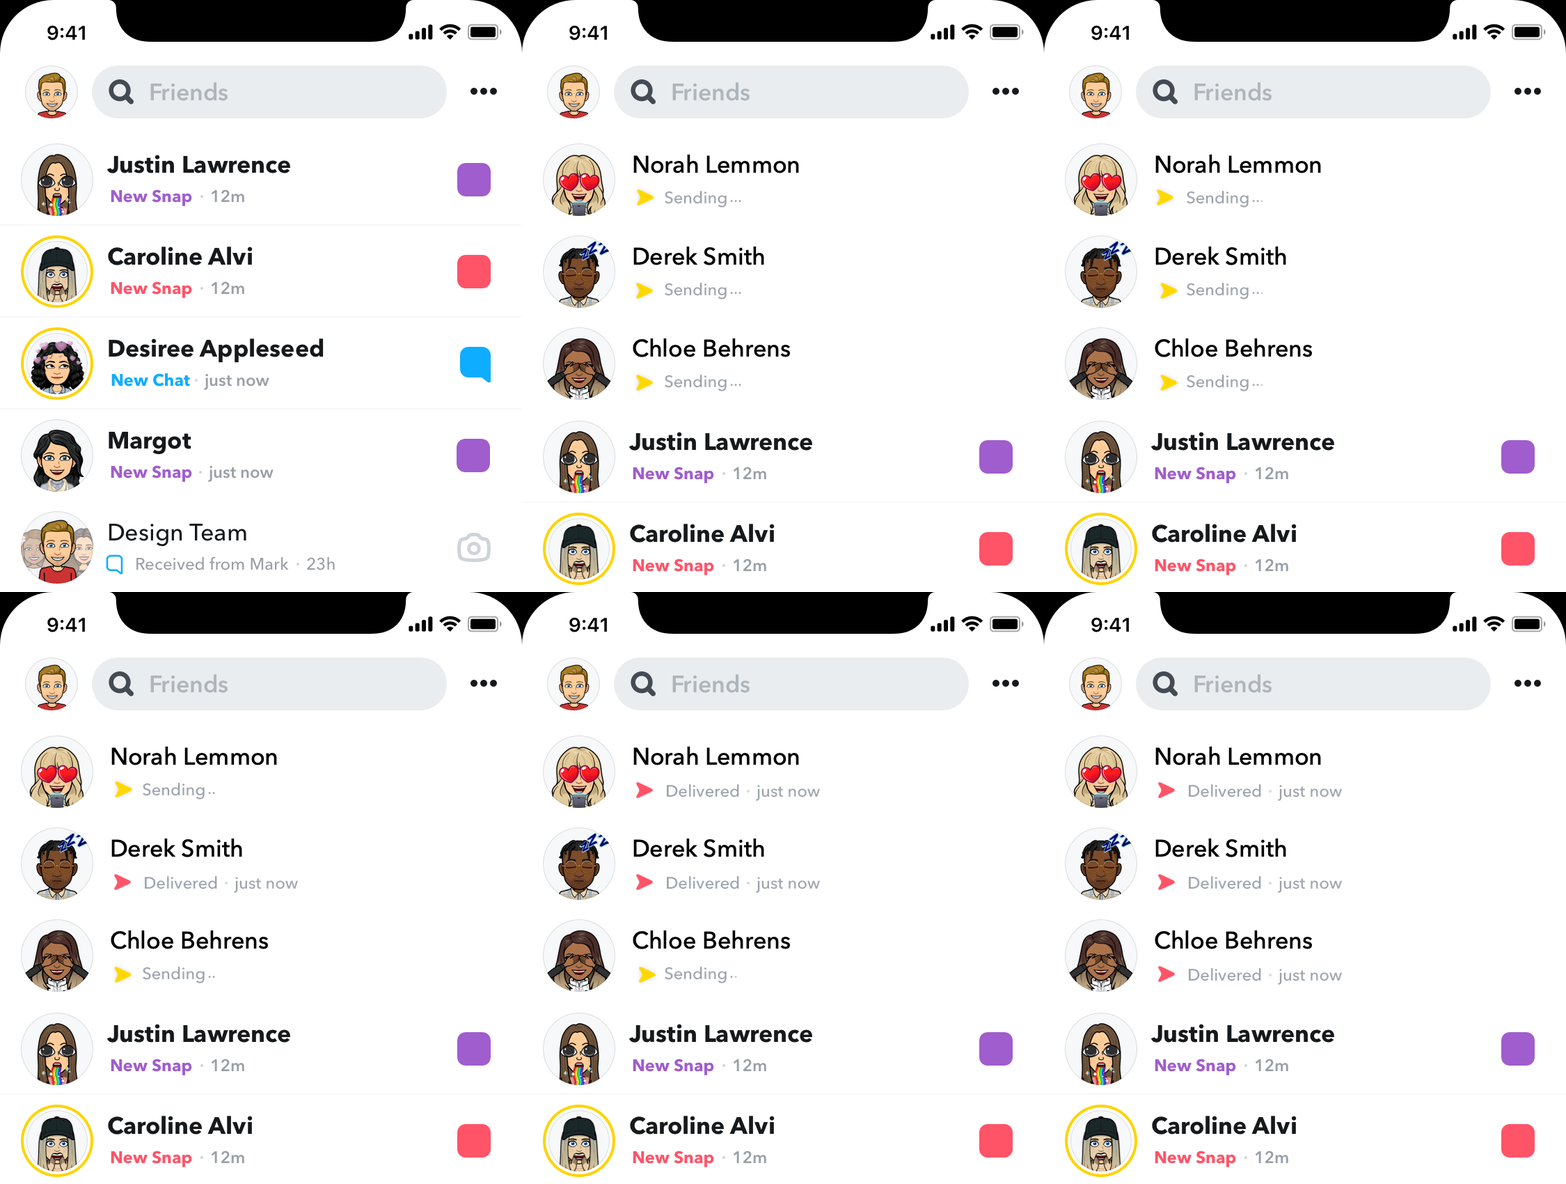
Communicating on Snapchat is real-time and authentic. Our interactions should be transparent and responsive, making users feel like they are in a real-life conversation.

Expressive
Motion celebrates moments in user journeys, adds character to common interactions, and is an opportunity to express Snapchat's personality.
Step 1:
Defining Distance & Speed
Area
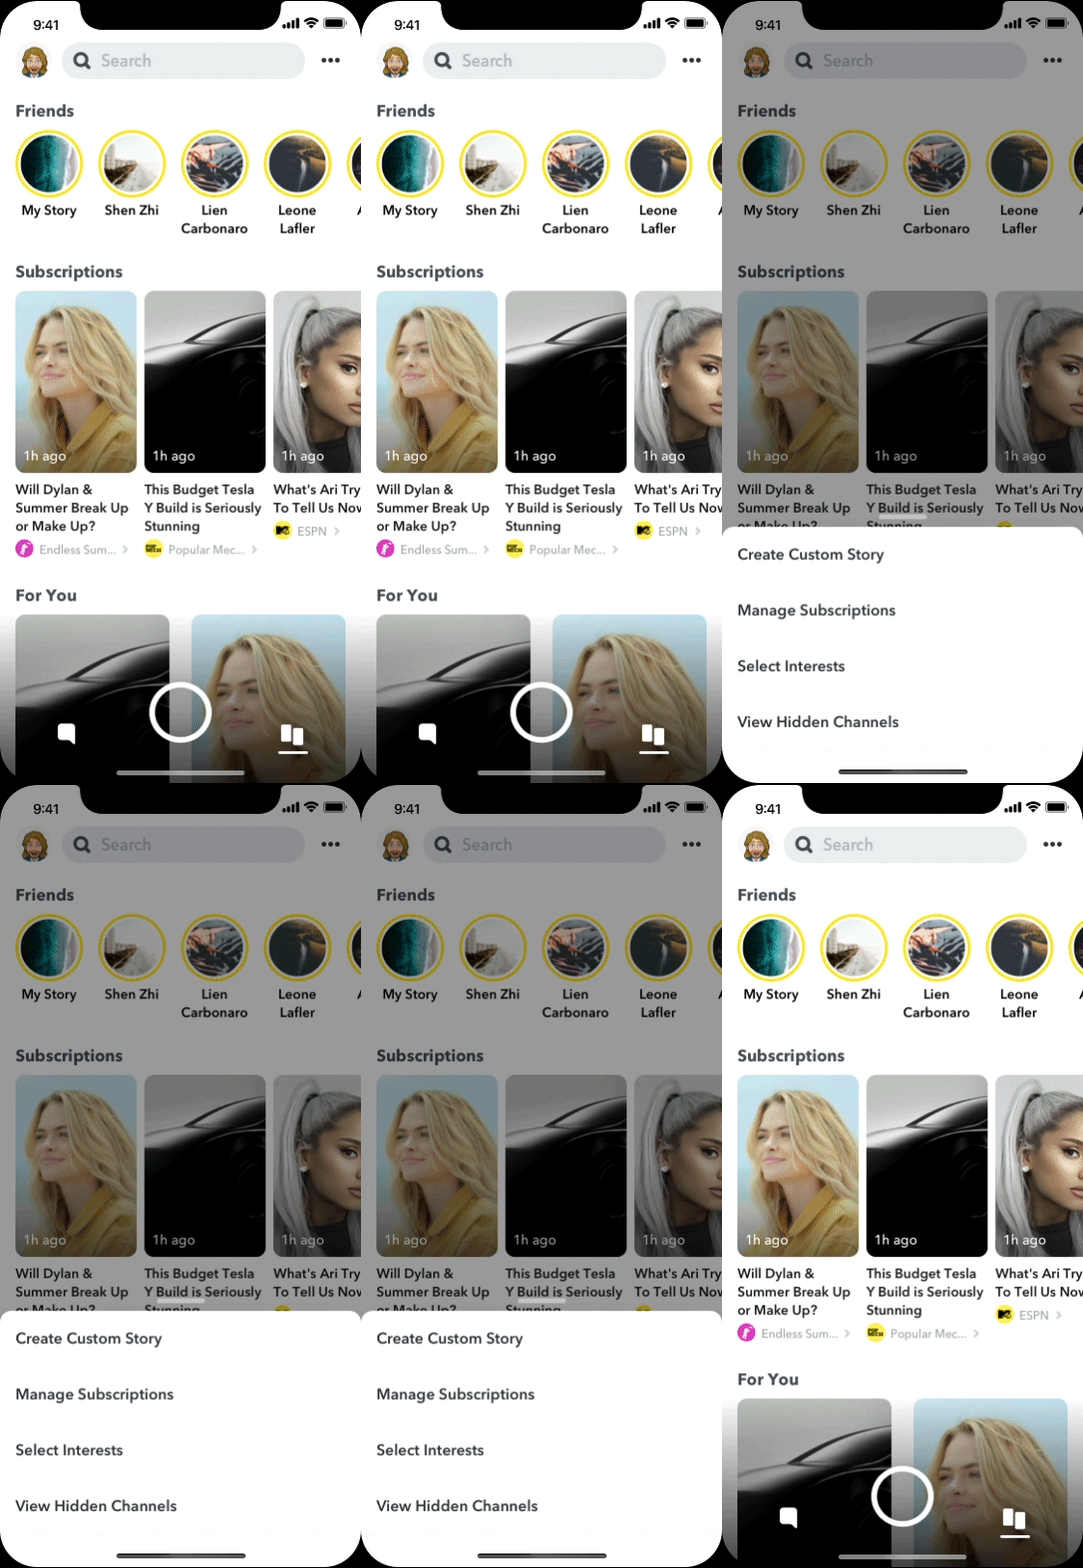
Elements that animate across a shorter distance have a shorter duration than those that travel longer distances. Regardless of an animation’s style, transitions shouldn’t be jarringly fast or so slow that they keep the user waiting. The right combination of duration and easing produces fluid and clear transitions. The factors below detail how duration should be adjusted to suit each animation.
Small
Enter - 100ms | Exit - 100ms

Medium
Enter - 200ms | Exit - 100ms
Large
Enter - 300ms | Exit - 200ms

Area Speed Notes
-
The duration for elements leaving the screen is always less than or equal to elements entering.
-
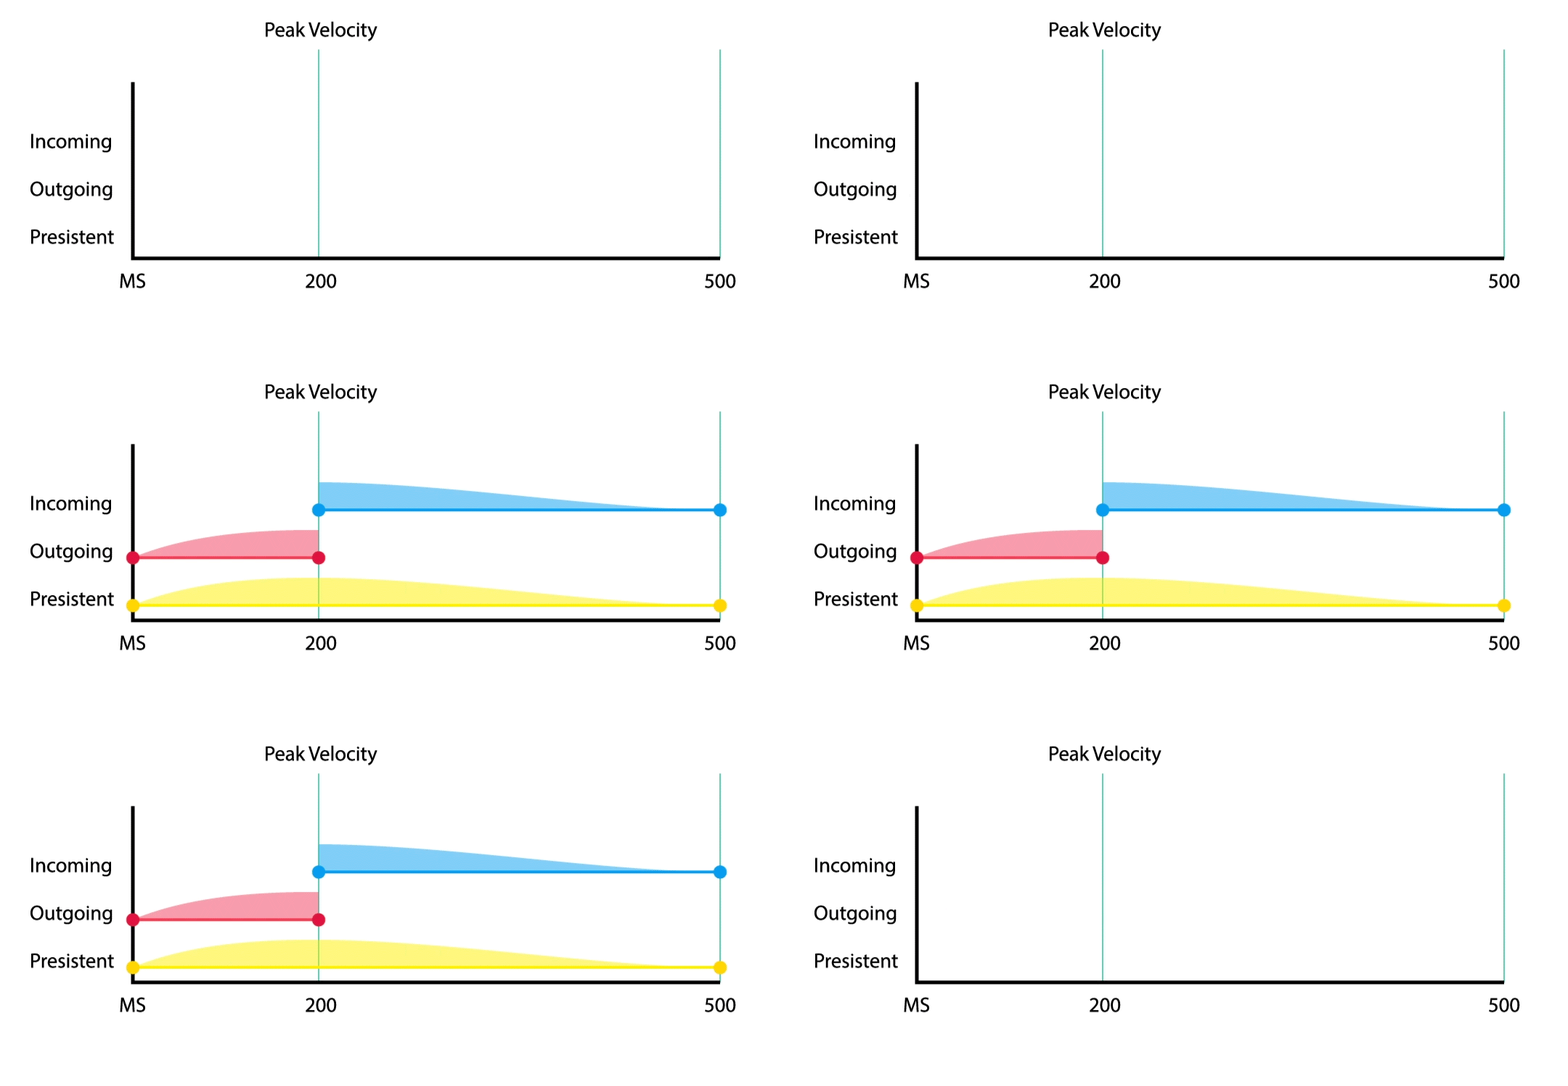
Elements that are persistent have a total duration of the exiting and entering animations. i.e. if the outgoing is 100ms and the incoming is 200ms. then the persistent equals 300ms.
-
Action animations, like buttons and sliders, have equal incoming and outgoing durations.
Step 2:
Understanding Easing
Standard Easing (Points A to B)
Standard Easing is associated with the *persistent* elements on the screen -- this includes any elements that are neither entering nor exiting, but simply moving from point A to point B. For example, when sliding a piece of paper on a desk with your hand, this Standard Easing method would be organically smooth. The beginning of the curve is 70% less than the ending curve, giving the element(s) a fast start and a smooth finish.

Android
FastOutSlowInInterpolator
iOS
[[CAMediaTimingFunction alloc]
initWithControlPoints:0.4f:0.0f:0.2f:1.0f]
CSS
cubic-bezier(0.4, 0.0, 0.2, 1);
After Effects
Outgoing Easing: 30%,
Incoming Easing: 70%
Decelerate Easing (Entering)
In order to visualize *Decelerate Easing*, imagine kicking a soccer ball on the ground in the middle of an open field. The moment your foot makes contact, the ball is at its *Peak Velocity*. From that point onwards, the ball decelerates and eventually comes to a natural stop. These are the same mechanics that the Decelerate Easing method uses: elements that are entering onto the screen start their journey at 0% and end at 70%, the *Peak Velocity*. They then slowly slide into place until finally coming to a full stop.
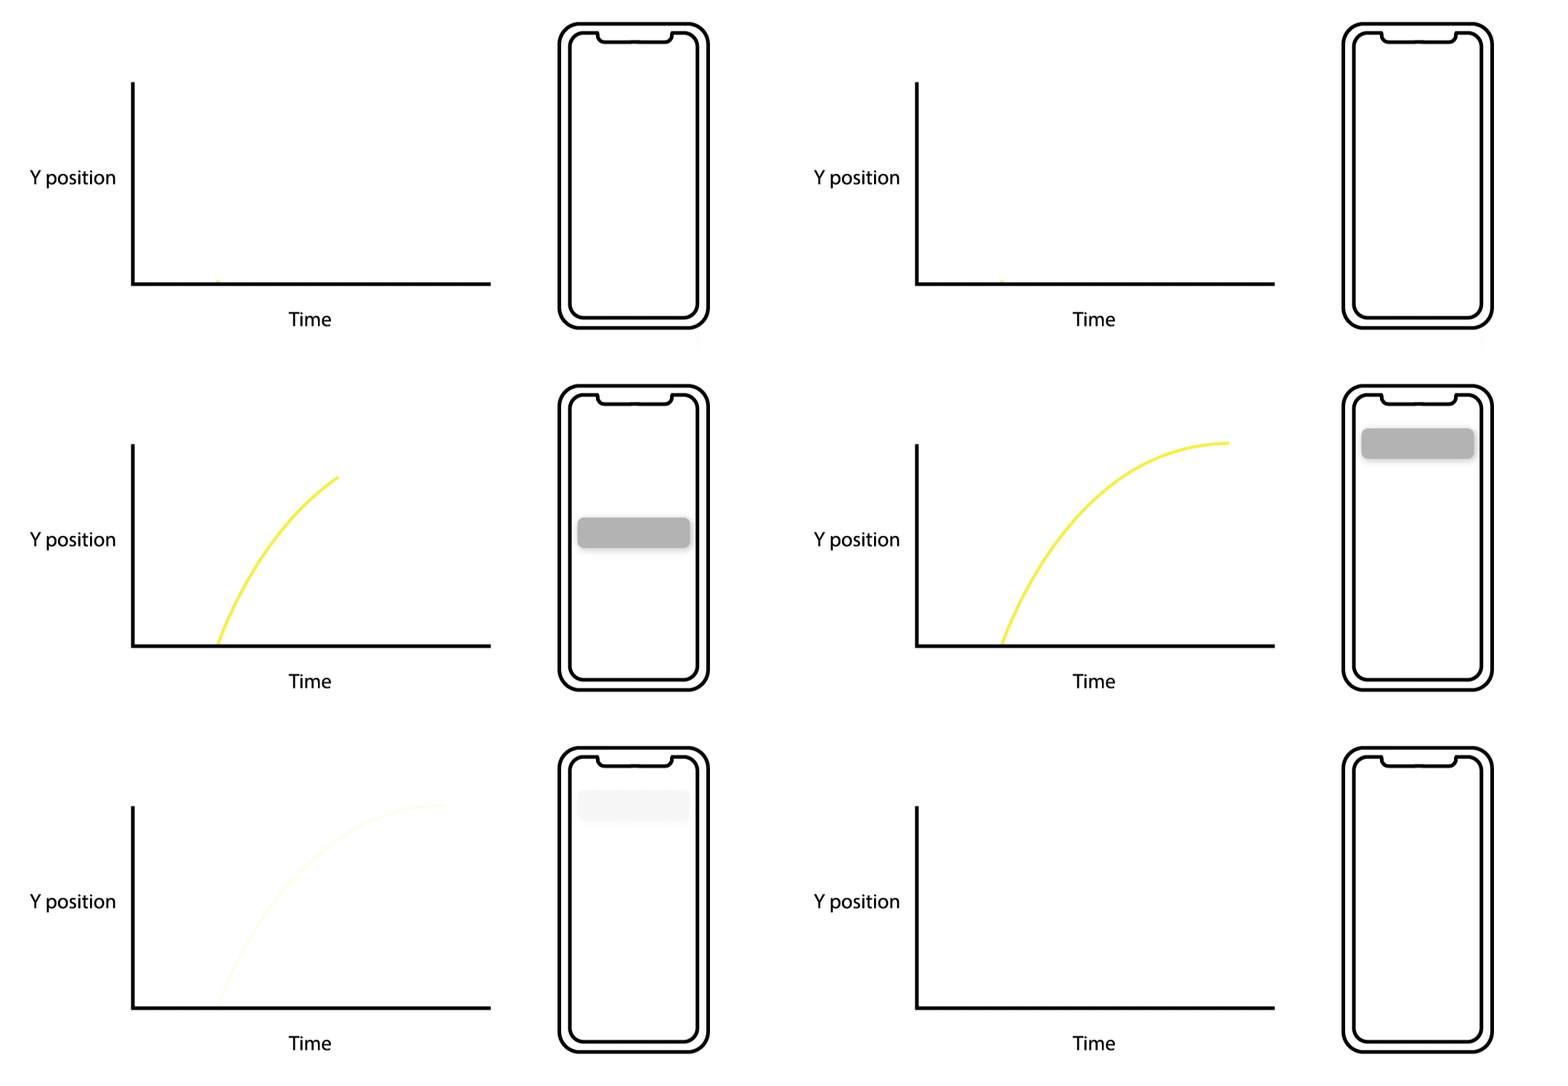
Android
LinearOutSlowInInterpolator
iOS
[[CAMediaTimingFunction alloc] initWithControlPoints:0.0f:0.0f:0.2f:1.0f]
CSS
cubic-bezier(0.0, 0.0, 0.2, 1);
After Effects
Outgoing Easing: 0%,
Incoming Easing: 70%
Accelerate Easing (Exiting)
For this easing method, lets picture we're jumping off of a rock into a lake. When you start your journey down to the water you're starting at 0mph and accelerating to say 10mph. This is the same theory to elements that are exiting the screen, they are essentially falling off the screen. Opposite to the Decelerate Easing method, this journey starts at 30% and ends at 0%
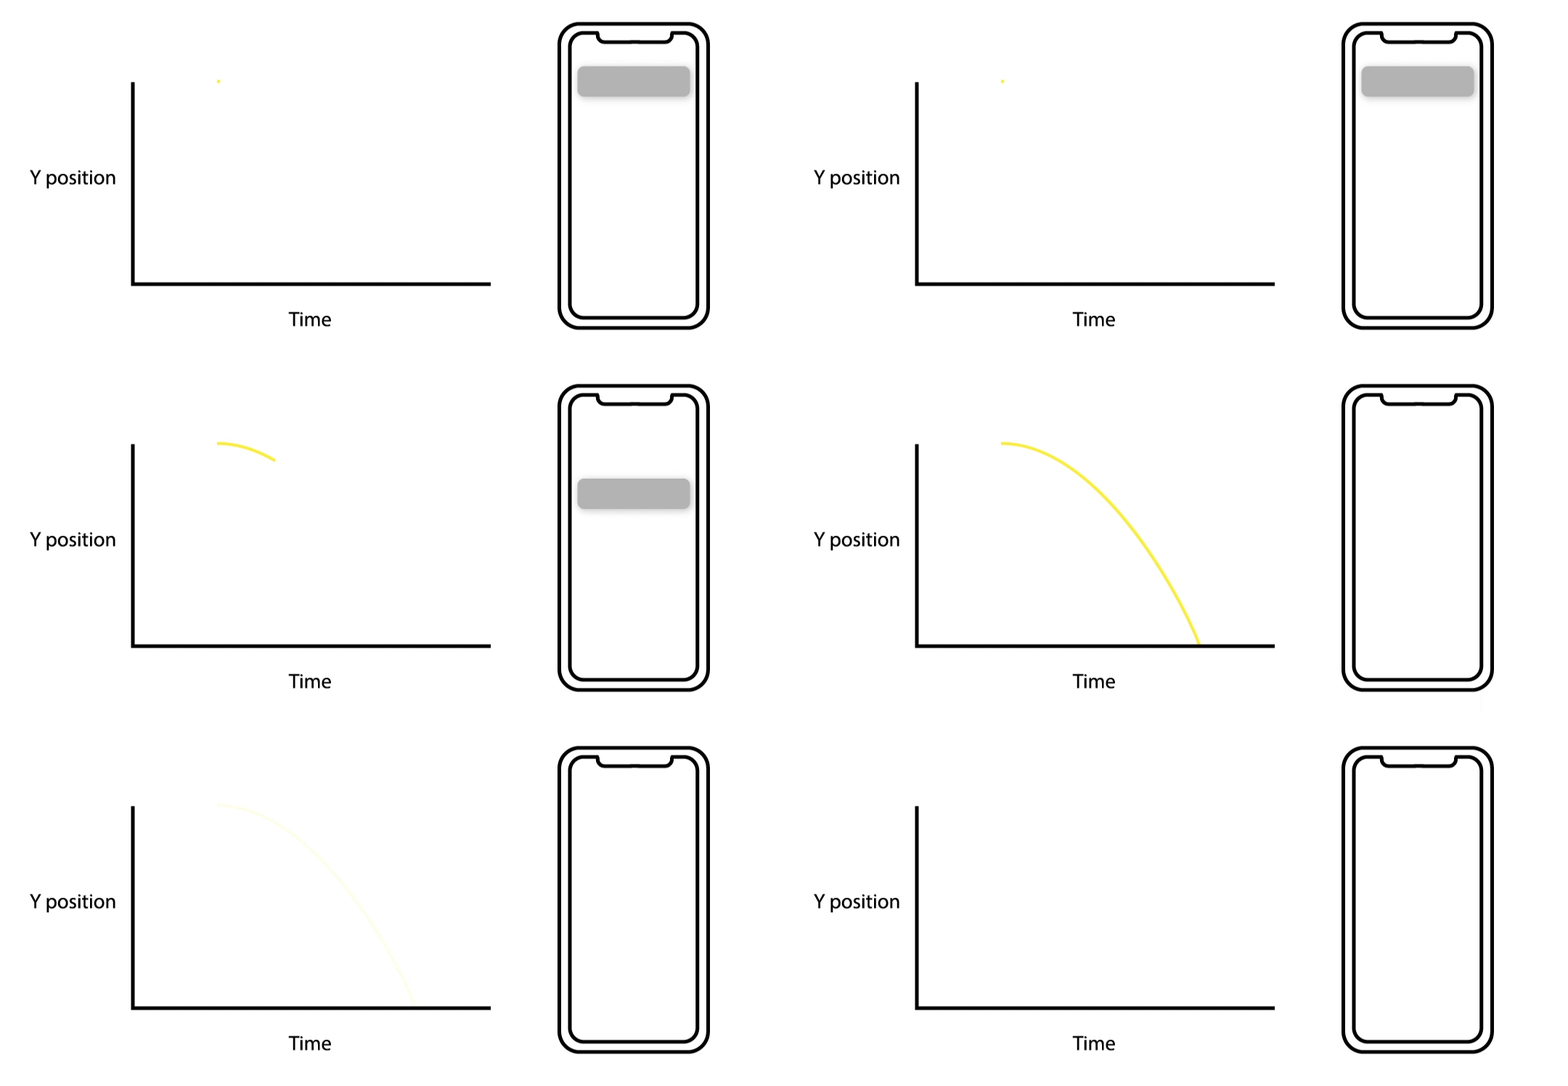
Android
FastOutLinearInInterpolator
iOS
[CAMediaTimingFunction alloc] initWithControlPoints:0.4f:0.0f:1.0f:1.0f]
CSS
cubic-bezier(0.4, 0.0, 1, 1);
After Effects
Outgoing Easing: 30%,
Incoming Easing: 0%
Step 3:
Choreography
Understanding the Sequence
Designing a good sequence requires a good understanding of what has left the screen, what will be entering the screen, and what remains. For each of these states, it is important to define the proper timing and apply the easing methods listed above. Once you apply this framework, you can successfully choreograph the sequence of interactions on a given screen as summarized below.
Outgoing
What is leaving the screen?
100ms
Accelerate Easing
Incoming
What is entering the screen?
200ms
Decelerate Easing
Persistent
What stays on the screen?
300ms (exit+entering)
Standard Easing
Final Outcome:
The Perfect Transition
Once you have asked yourself the three questions above and applied the accurate timing and easing methods, you are now at a “Tipping Point” and have reached the Peak Velocity. You can now make the Outgoing elements disappear and Incoming elements appear:
-
Outgoing elements’ easing velocity ends at “0”;
-
Incoming elements’ easing standard where the velocity starts at “0”.

The "Tipping Point"
Peak Velocity
